How to Take Stunning Photos of the Moon: A Beginner’s Guide
Do you want to take amazing photos of the moon that’ll wow your friends? If you’ve ever tried snapping a quick shot of the moon, you might’ve noticed that it often looks like a tiny, blurry white dot. Moon photography can seem tricky, but with the right settings and a bit of know-how, you can capture stunning, detailed images of the moon. Whether you’re new to photography or just looking to improve your skills, this guide will help you become a pro at moon shots or just a simple how to take moon photos.
Why Moon Photography is Challenging
Taking a picture of the moon is harder than you’d think. First, the moon is really far away, so it’s hard to capture its details. Plus, it’s brighter than the surrounding sky, which can throw off your camera’s automatic settings. But don’t worry—there’s a way to fix that!
What You Need to Take Great Moon Photos
To get clear and sharp moon photos, you don’t need to spend a ton of money, but having the right gear will make it easier.
• Camera: Any DSLR or mirrorless camera will work, as long as it has manual settings so you can control how much light your camera takes in.
• Zoom Lens: A zoom lens that’s 200mm or more will help you get close-up shots of the moon’s surface. The bigger the lens, the more details you’ll capture (like craters and textures).
• Tripod: Even the smallest shake can make your moon photo blurry. A tripod keeps your camera steady.
• Remote Shutter or Timer: This allows you to take a picture without touching the camera, avoiding any camera shake.
Example Photo Gear Setup:
• Camera: Canon EOS Rebel T7i
• Lens: Canon EF 70-300mm f/4-5.6 IS II USM Lens
• Tripod: Manfrotto Compact Action Tripod
• Remote Shutter: Canon RS-60E3 Remote Switch
When’s the Best Time to Photograph the Moon?
Timing is super important in moon photography. Here’s what you need to know:
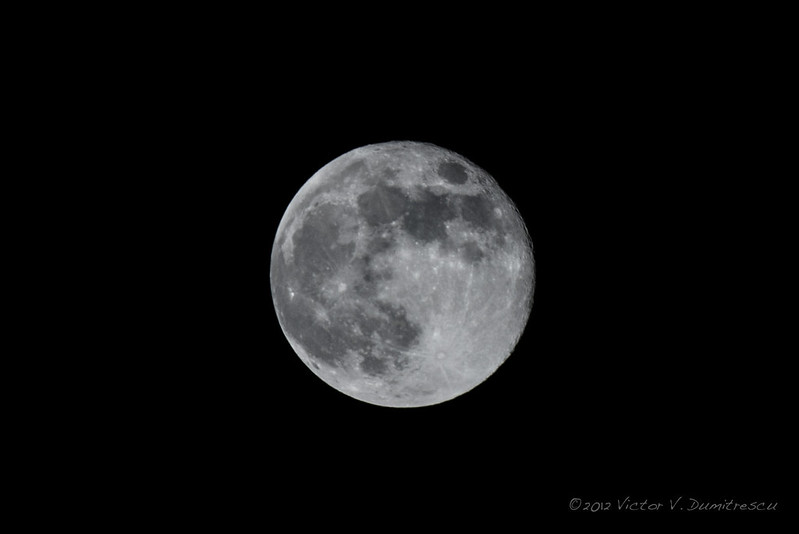
• Full Moon: This is the most popular time to take moon photos because the moon is fully lit and very bright. However, it can sometimes appear too bright, washing out details.
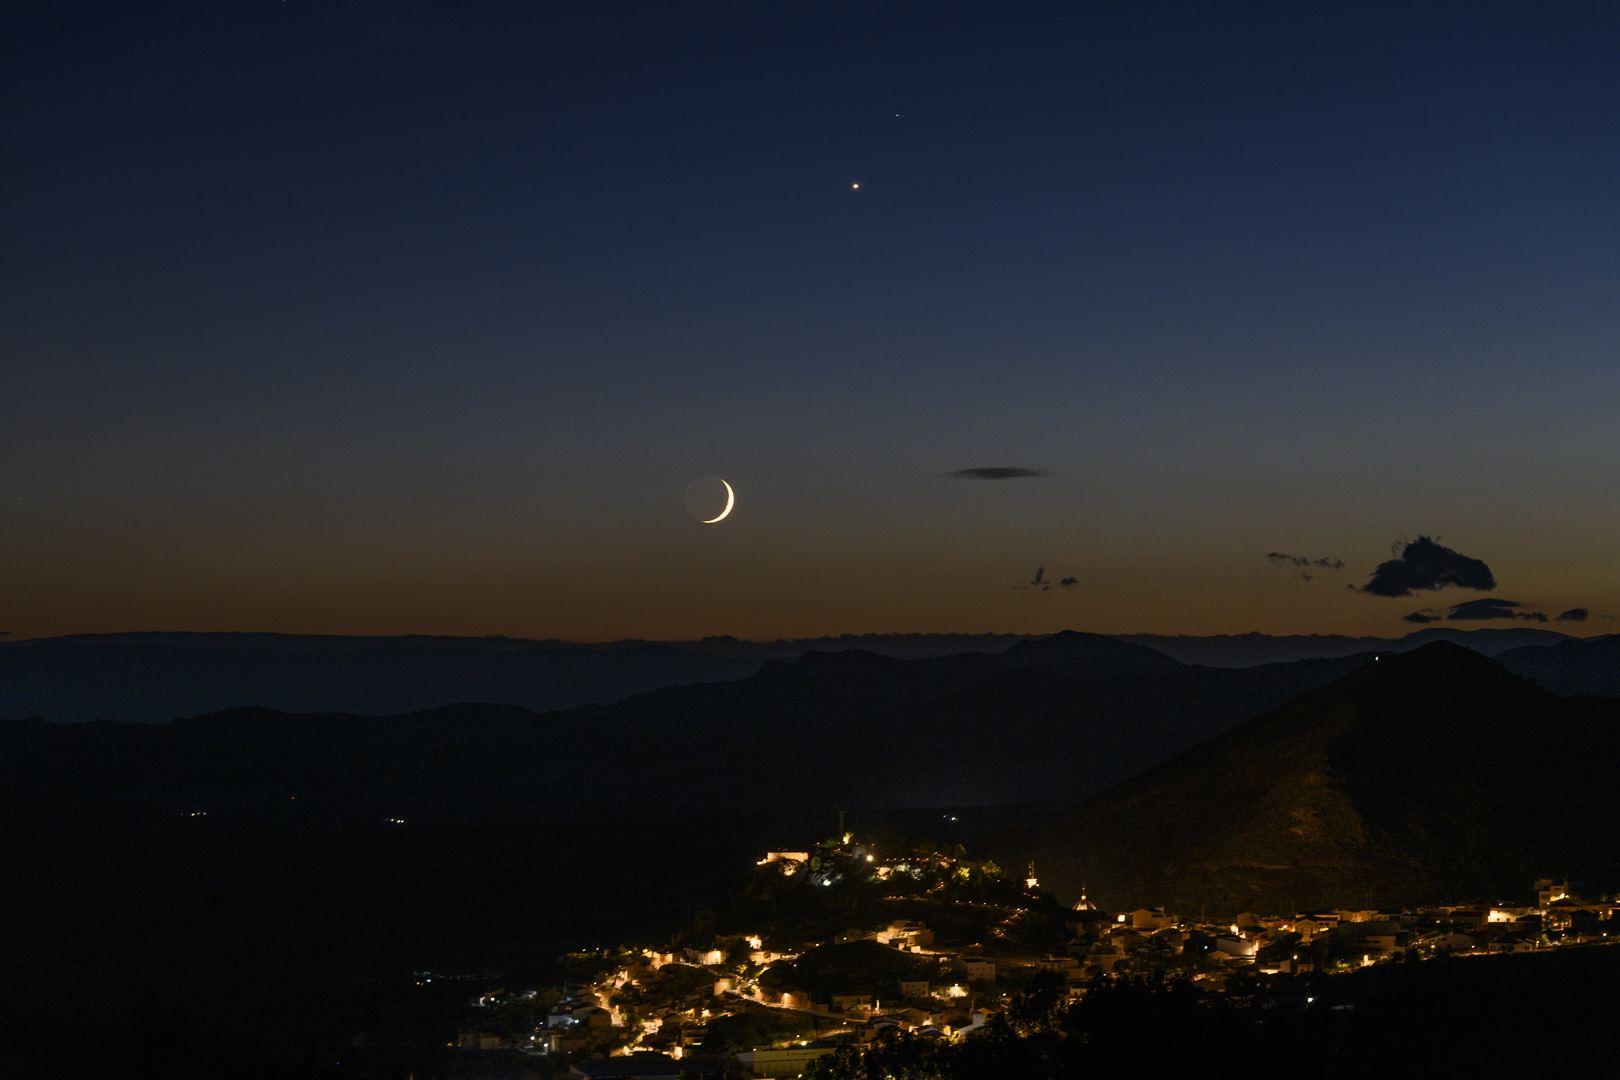
• Crescent Moon or Half Moon: These phases can be even more interesting to photograph. You’ll see more shadows and textures on the moon’s surface, making your photo look cooler.
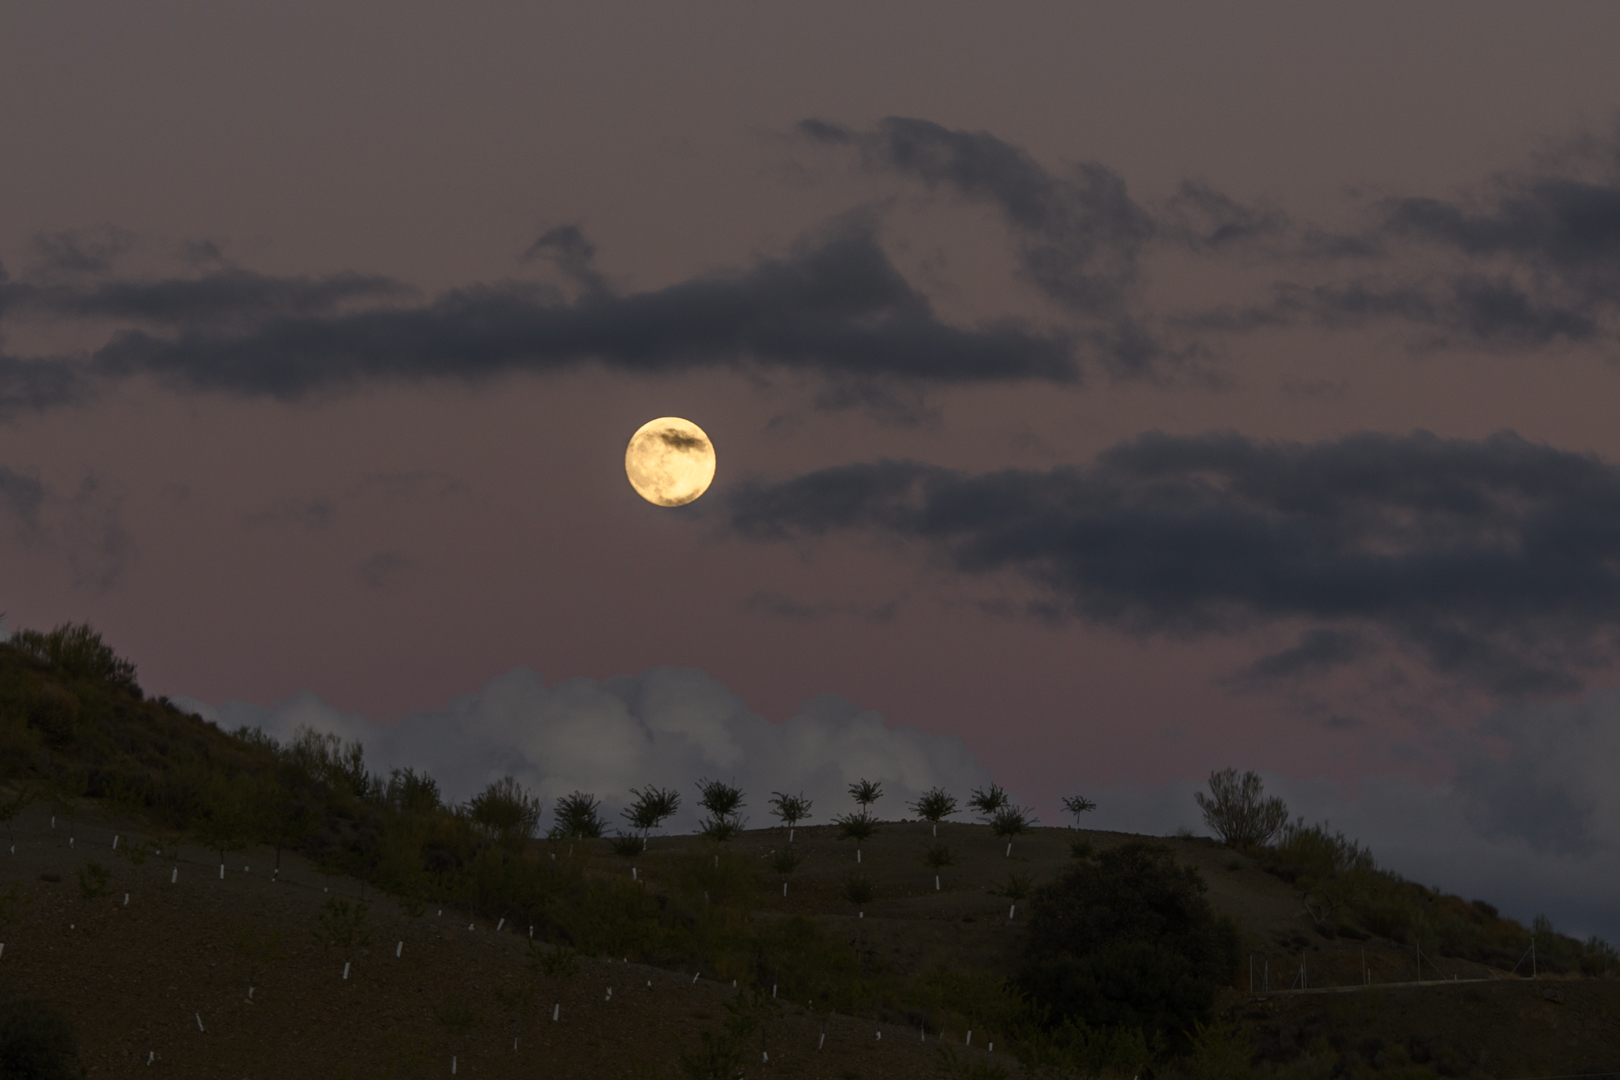
• Just After Sunset or Before Sunrise: This is when the moon is lower in the sky and the colors around it can add more drama to your photo.
• Use a Moon Phase App: Apps like “Moon Phase Calendar” can help you track when the moon will be in its different phases. You can plan your shoots based on that!
Example Moon Phases:
• Full Moon Photo:

• Crescent Moon Photo:


Best Camera Settings for Moon Photography
Here are the best settings for moon photography, the key to moon photography is using manual mode on your camera. This allows you to control how much light enters the camera, giving you more control over your shot. Here are the settings to try:
• Shutter Speed: Start with 1/125th of a second. The moon is bright and moves fast across the sky, so a faster shutter speed will help you capture it sharply.
• Aperture (f-stop): Set your aperture to around f/8 to f/11. This keeps the moon sharp and well-detailed.
• ISO: Keep your ISO low, between 100 and 200, to avoid noise or graininess.
• Focus: Switch to manual focus, then zoom in on the moon using your camera’s preview mode to make sure it’s crisp.
Example Camera Settings for Moon Photography:
• Shutter Speed: 1/125 sec
• Aperture: f/8
• ISO: 100
• Manual Focus on the moon
How to Avoid Overexposing the Moon
One common problem in moon photography is overexposure—when the moon appears as a glowing white blob with no detail. To fix this, you can use a technique called the “Sunny 16 Rule.”
• Set your aperture to f/16.
• Adjust your shutter speed to 1/125 sec or faster.
• Take a few test shots and adjust as needed.
If the moon still looks too bright, increase your shutter speed (like 1/250 sec) to let in less light. If it’s too dark, slow down the shutter speed (like 1/60 sec) to let in more light.
Advanced Tips: Making Your Moon Photos Stand Out
Once you’ve mastered the basics, here are a few advanced tricks to take your moon photos to the next level:
1. Add Foreground Elements: Including something in the foreground, like trees or buildings, can give your moon photos more context and make them more interesting.
2. Try Long Exposures: If you want to capture the moon with stars or landscapes, try a long exposure. This is where the camera captures light for several seconds, giving you a more dramatic shot.
3. Multiple Exposures: Take multiple photos with different exposures and combine them in editing software. This way, you can capture both the bright moon and the darker night sky in one perfect image.
Editing Your Moon Photos
After taking your photos, editing can bring out even more detail. You don’t need to be a Photoshop expert—simple adjustments will do:
• Sharpening: Add clarity to bring out the details of the moon’s craters and surface.
• Contrast: Increase the contrast to make the moon pop against the sky.
• Reduce Noise: If your photo has grainy noise, use noise reduction, but don’t overdo it or you might lose detail.
Before and After Editing Example:
Final Thoughts
Taking photos of the moon is all about patience and practice. The more you experiment with different settings, the better your photos will get. Remember, photography is about having fun and capturing the world around you, so don’t be afraid to get creative and try new things.
Share Your Shots!
Once you’ve taken some cool moon photos, share them with your friends or on social media. Tag us, and we’d love to see your work! #escumedia
